What to Pack for Whistler and Vancouver
Build one modular capsule for Vancouver's coastal rain and Whistler's alpine cold, with layering advice, footwear picks, packing quantities and what to leave out.
On this page
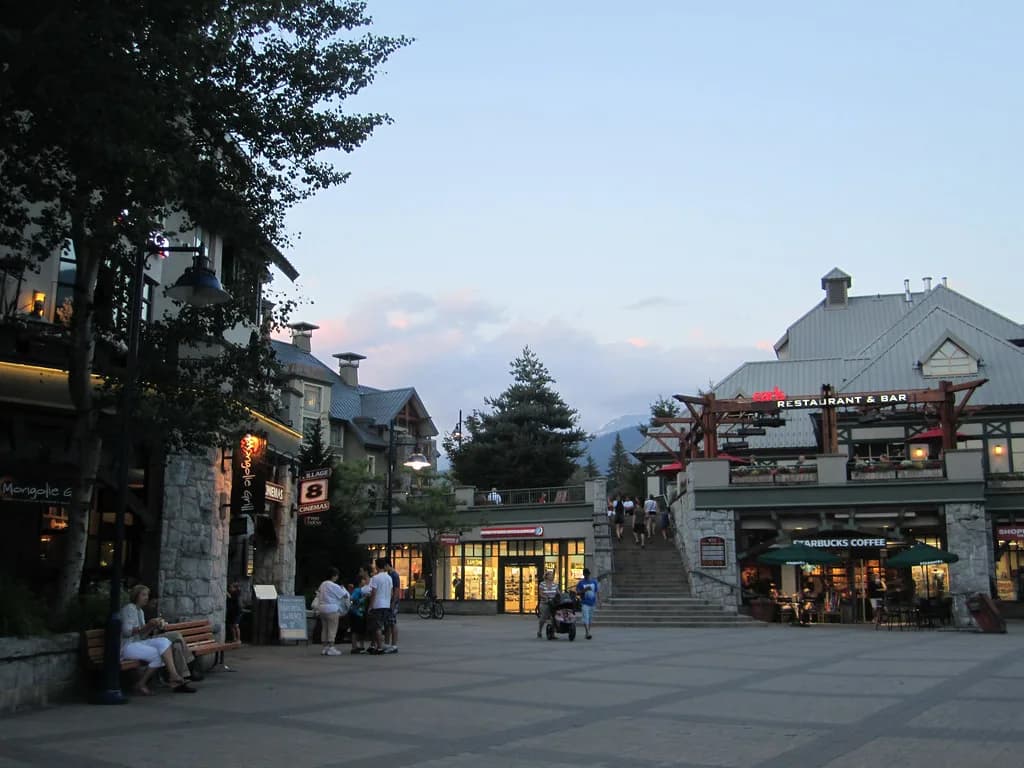
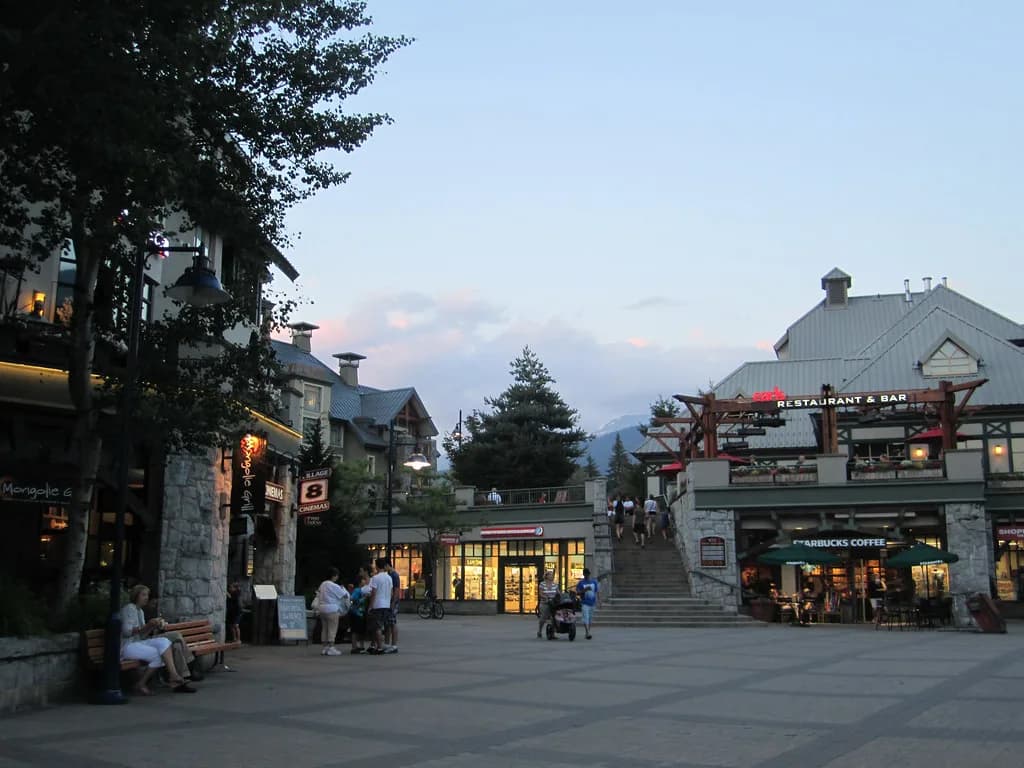
A trip that pairs Vancouver with Whistler rarely stays in one climate. You move from a wet, walkable coastal city to higher terrain where the same day can shift from mild to cold, so the packing goal is one capsule that covers both rather than two separate wardrobes. That overlap is what saves space and keeps you from hauling a second suitcase north.
This guide treats layering as the core decision and builds everything else around it. You will find footwear and accessory choices, a compact packing example that scales by trip length, and a short list of items to leave behind. All outfit suggestions are editorial advice, not mandatory rules.
Two Climates, One Bag
Vancouver sits on the coast, where rain is a regular part of the year and temperatures stay relatively mild; Whistler sits in the Coast Mountains, where conditions turn colder and shift faster. Whistler's setting in a temperate rainforest means moisture is a constant and weather can change quickly, so packing for a fixed forecast is a losing game. Treat these as historical seasonal tendencies, not a forecast, and check current conditions for both places before you leave.
The practical consequence is that your most useful items are the ones that work in both places. A waterproof shell, a warm mid-layer, and one pair of grippy waterproof boots cover city blocks and mountain paths alike. If you are travelling in a specific month, the month pages go deeper into that window's likely conditions, including what to wear in Whistler in November when the season is turning.
Read the seasonal picture as a range of possibilities rather than a promise. A month can deliver sun, rain, slush, or early snow, sometimes within one trip, so the capsule should flex rather than assume one outcome. The season and your planned activities matter more than any single weather number.
The Layering System as Your Core
Think of three separate jobs: a base layer that manages moisture, a mid-layer that holds warmth, and a shell that blocks wind and rain. Fall advice from Tourism Whistler recommends exactly this structure, with a close-fitting base layer, a wool or wool-blend mid-layer, and a weatherproof outer layer. One heavy coat handles fewer situations than three thin pieces because you can remove or add each one as the day changes.
The middle layer earns its place because it does double duty. In Vancouver it can be the piece you wear into a restaurant or cafe when the shell comes off, and in Whistler it disappears under the shell on a colder day. Choose a mid-layer that looks presentable on its own so you are not carrying a dedicated city jacket.
Base and Mid-Layer Choices
For the base layer, favour moisture-wicking fabrics such as merino wool or synthetic blends over cotton. Cotton holds water and dries slowly, which is a poor match for a climate where you may work up a sweat on a trail or get caught in drizzle. A long-sleeved base layer also keeps sun off your arms if the day turns bright.
The mid-layer is where wool and wool-synthetic blends shine, and a plaid flannel is a practical Canadian staple for the role. It stays warm, breathes well enough for movement, and looks at home in a village cafe. Two mid-layers let you rotate one while the other airs out, which matters on a longer stay.
Pack a lightweight insulated piece, such as a packable puffer or fleece vest, as an alternative or addition to the flannel. It adds warmth without bulk and can be worn under the shell on a cold mountain day or on its own around the city. Combining a flannel and a puffer gives you several outfit combinations from two items.
Your Waterproof Shell Is the Single Most Important Item
A waterproof shell is the item you will use most across both destinations. Look for a jacket with a large adjustable hood, seam-sealed zippers, and adjustable cuffs if you plan to test it in real rain. Under-arm vents are a useful addition because they let you dump heat without removing the shell.
A packable shell covers Vancouver drizzle just as well as Whistler rain or wet snow, so you do not need separate rain gear for the city. If you already own a warm ski jacket, it can act as an additional waterproof layer on cold days. Winter guidance from Gibbons Whistler also pushes waterproof jackets and practical boots over city-style formal wear, which is the same reasoning applied to your outer layer.
Footwear Strategy
One pair of waterproof, grippy boots or shoes covers the most ground. Village paths can vary from dry to wet, slushy, or snow-covered, so a Traveller-reported discussion on visiting Whistler advises sensible footwear for walking through the village. Choose a pair you can wear for city blocks and for wet or muddy paths without changing shoes.
If your plans include a nicer dinner or a night out, add one lighter or dressier pair rather than two. Whistler winter guidance suggests leaving high heels at home, and practical boots are a common choice around the village. If you prefer a second pair, choose something flat and weather-tolerant over something delicate.
Socks matter as much as the boot. Wool socks wick moisture and keep feet dry and warm, and a fresh spare pair can make a wet day far more comfortable. Pack two or three pairs for a week and wash as needed.
Socks, Gloves, and a Warm Hat
A toque, gloves, and a scarf are the small items that decide whether a cold day is pleasant. Covering the places where body heat escapes is key on less-than-toasty days, and a toque that covers your ears does the most work. If you are in Whistler for its cold months, what to wear in Whistler in December becomes a colder version of the same capsule.
For hands, a light liner pair handles village walking while a heavier waterproof pair covers snow and ski days. Insulated gloves are useful even in warmer months, since mountain air can feel chilly at altitude or in rain. Two pairs let one dry while you wear the other.
Pants and Bottoms
Start with one durable everyday pair, such as dark denim or hiking pants. Whistler is casual and practical, and visitors who wear exposed legs in winter evenings stand out for the wrong reason when snow is on the ground. For cold or wet days, add a second layer under or over your pants rather than switching to a heavier single pair.
Fleece-lined leggings are a compact second layer that works under ski pants on the mountain or under a long sweater in the village. A waterproof outer pant is worthwhile if you plan to ski or snowboard, and it keeps slush from soaking through on a wet village day. Two functional bottoms plus one base layer under them cover nearly every scenario.
Accessories That Pull Their Weight
Sunglasses earn their space because glare is strong off snow and water, and high-altitude sun can be harsh even in cooler months. A compact umbrella is useful for strolling the village or city streets, though it is less practical in the forest or on exposed trails. A reusable water bottle and a small day bag that works for both walking and short trails round out the kit.
Add a compact first-aid kit for blisters and minor scrapes, a portable charger for long days outdoors, and lip balm with sun protection. Packing cubes or compression bags keep layers organised when you are carrying items for two climates. Roll clothes rather than folding them flat to save space and reduce wrinkles.
A Week-Long Capsule Example
For a week, start with two base layers, two mid-layers, one shell, one insulated layer, and two pairs of pants. Add two or three pairs of wool socks, liners plus a heavier pair of gloves, a toque, and a scarf. Finish with one pair of waterproof boots and, only if your plans call for it, one lighter second pair.
Scale the same list by trip length: a weekend needs one base layer and one mid-layer, while two weeks calls for three base layers and a laundry plan rather than more outerwear. The shell, boots, and accessories stay constant regardless of length. Two mid-layers are usually enough because they can be worn in rotation and aired overnight.
What to Leave Behind
Leave formal city-only clothing, high heels, and delicate shoes at home. Whistler's style is laid-back and practical, and clothing built for a downtown office rarely gets worn. Instead of packing several bulky sweaters, choose two versatile mid-layers that work under the shell and on their own.
Skip duplicate bulky layers you can substitute with one packable piece, and avoid cotton items you plan to wear when wet. If you are deciding on cold-season layers, what to wear in Whistler in January follows the same logic with a stronger emphasis on warmth. Anything you cannot layer or rewear is a candidate to stay in the closet.
Transitioning from Streets to Trails
The Vancouver-to-Whistler switch is where people over-carry. Wear your bulkiest layers on the travel leg, keep the shell accessible, and shed the mid-layer into your day bag once you warm up rather than holding it. If you are heading up the mountain, leave the city-only items at your accommodation and carry just the shell, liner gloves, and a spare pair of socks.
Before You Leave: Check the Forecast
Check both destinations close to your departure date rather than weeks out. Adjust the capsule by swapping one mid-layer for a heavier or lighter one, or adding a waterproof pant, instead of rebuilding the bag. If rain or snow looks likely, prioritise the shell, waterproof boots, and spare socks.
Plan Your Visit
A single modular capsule built around a base layer, a mid-layer, and a waterproof shell is the most efficient way to cover Vancouver and Whistler in one trip. Add one pair of waterproof grippy boots, small accessories for warmth and glare, and a day bag, then scale amounts by trip length rather than adding specialist gear. Review the layered options before you pack and adjust within the system closer to departure.
Frequently Asked Questions
What should I pack for winter travel to Whistler and Vancouver?
Build around a three-layer system: a moisture-wicking base layer, a wool or fleece mid-layer, and a waterproof shell with a hood and sealed seams. Add one pair of waterproof grippy boots, wool socks, a toque, liner gloves plus a heavier pair, and a warm insulated layer for cold evenings and mountain days. Vancouver's milder coastal days use the same pieces with the shell worn open or removed.
Can I wear the same shoes in Vancouver and Whistler?
One pair of waterproof, grippy boots or shoes can cover city walking and wet or slushy village paths, which is why a single practical pair is the simplest choice. Add a second lighter or dressier pair only if your plans include a nicer dinner or an event. Leave high heels and delicate soles at home, since they handle neither wet streets nor uneven ground well.
How many layers do I need for a week in Whistler and Vancouver?
Two base layers, two mid-layers, one shell, and one insulated piece will handle a week comfortably. Add two or three pairs of socks and one or two pairs of pants, plus the small accessories for warmth and glare. For a longer stay, add a third base layer and plan to do laundry rather than packing more outerwear.
Why is layering better than one heavy coat?
A single heavy coat handles a narrow range of conditions, while three thin layers let you add or remove warmth as the day changes. That matters when you move between a mild, damp city and colder mountain terrain in the same trip. Thin layers also dry faster if the outer shell gets overwhelmed by rain.
What should I leave behind?
Leave formal city clothing, high heels, delicate shoes, and duplicate bulky sweaters at home. Whistler's practical, casual style and Vancouver's wet sidewalks both reward weather-ready footwear and layers you can rewear. If an item cannot be layered, reworn, or worn in the rain, it is usually worth leaving out.
When should I check the weather for Whistler and Vancouver?
Check both destinations close to your departure date rather than weeks in advance, because mountain conditions can shift quickly. Use the forecast to adjust layers within your capsule, such as swapping a light mid-layer for a warmer one or adding a waterproof pant. You do not need to rebuild the bag, only tune it.
Sources
Free: The Ultimate Packing Cheat Sheet
A carry-on capsule wardrobe, the complete packing checklist, layering made simple, and what to wear by season — one printable page you'll use on every trip.
You might also like

Continue reading
More guides you'll find useful